Click here to read Part 1 & Part 2 of this series.
And now for the part that I enjoyed the most even though it meant I was up all night and on my feet for over 5 hours. The end result of this entire process (other than the beautiful outcome, obviously) was that I developed a newfound respect for bakers. There’s more to baking than the science and art of it; it requires patience, concentration, and physical strength. And yet, depsite being a process that requires one to be alert, it is an activity that is therapeautic. For some, at least. I have come to realise that I am one of those people. 😊
And much like everything else I did for my daughter’s first birthday, I decided to bake the cake too. At least the one we cut at home and when everything else was Unicorn themed and colour-coordinated, how could this not be?
But I have certain limitations. I am a newbie baker and even though I have the basic knowledge and skills, I don’t know everything and I definitely don’t have ALL the tools. Which is why even though the inside of the cake was a pretty five-coloured layer, the outside sported shabby decoration, albeit in gorgeous pastels. We decided to reserve the Golden Unicorn Horn and pretty eyelashes for the cake made by a professional for the big party two days later.
So here’s how I made the cakes. Well, I ended up making a smaller one that we would use for her Cake Smash too, so I’m going to show you both of these cakes.

The Prep
I wanted a fresh cake on my daughter’s birthday, so I baked the previous night. But this activity required way more preparations before I even measured flour. That afternoon, reinforcements were called – my sister – who entertained my baby while I – wait for it – mentally prepared myself for this seemingly herculean task 😜😜. The weekend before, we got some proper baking tools and supplies, and just two days before the big day, my husband bought me a hand mixer so I could get the fluffiness just right.


The Recipe
I attended a baking class way back in May this year and I’ve been pretty much using the Vanilla and Chocolate Cake Recipes I learnt there. Unfortunately, I do not have permisson to share the recipe because this recipe is taught in a class that my teacher charges for. It would be detrimental to her if her recipe were to be floating around somewhere on the internet. So I’m sharing the closest recipe that I could find online. No, it’s not exactly the same, but it is pretty close. The one I used started with 125 gms of flour and this one uses 1.5 cups. Other than that, it is more or less the same. Here’s the recipe for Eggless Vanilla Cake from Veg Recipes of India.
The Small Cake
To make the small cake for the Cake Smash, I used my teacher’s recipe for a vanilla sponge cake as is and baked two layers in a 4″ tin. In between the two layers, I used Vanilla Buttercream frosting (that I made at home) – recipe below. I did not add any food colouring to this because the baby was going to smash and eat it, but I did not switch all purpose flour (maida) to wheat either. 😜
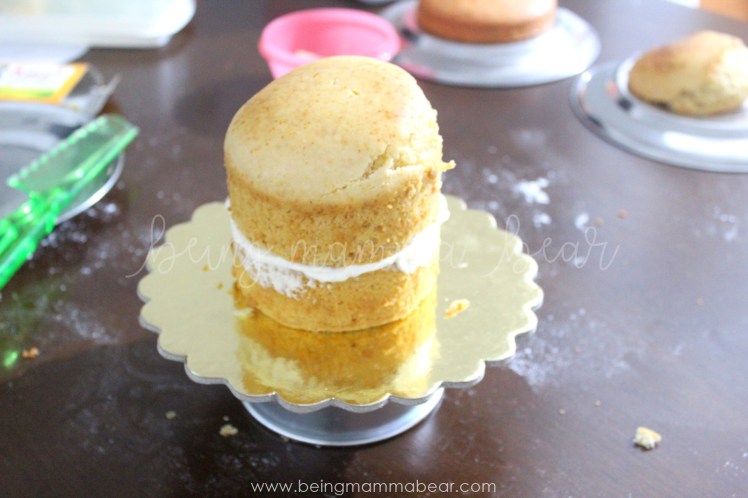 I levelled the cake but wasn’t able to do an even leveling because I don’t have a serrated knife yet. That green thing you can see to the left of the image is a plastic one but my baby dropped it from the kitchen counter that morning (what a coincidence, right? Thanks to my husband who thought it’d be a good idea for her to sit there for a few seconds, and that’s all it took) and broke the knife in two. I managed with a large, sharp chef’s knife that I have, but I don’t think it got us the same results.
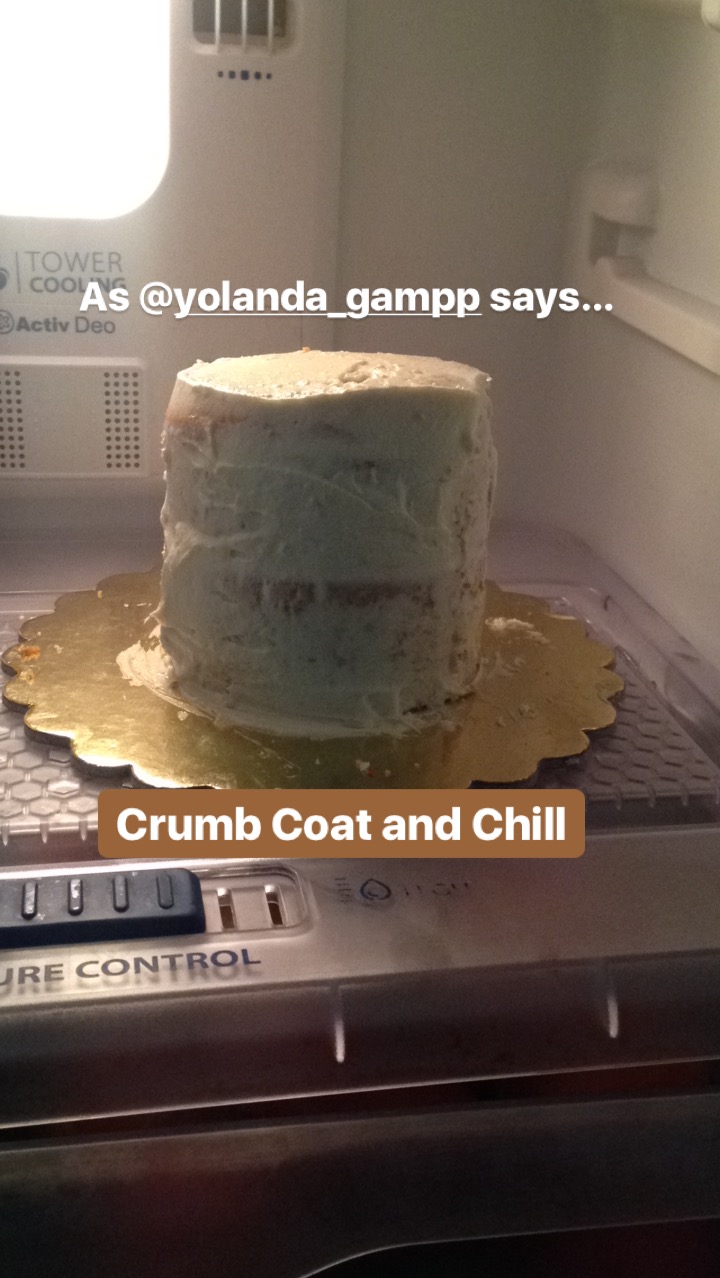
 I used a basting brush to soak some simple syrup (water and sugar in 1:1 ratio – courtesy Yolanda Gampp) on the layers and then filled it in with buttercream. And then I added a thin crumb coat and put it in the fridge to chill.
The Big Cake
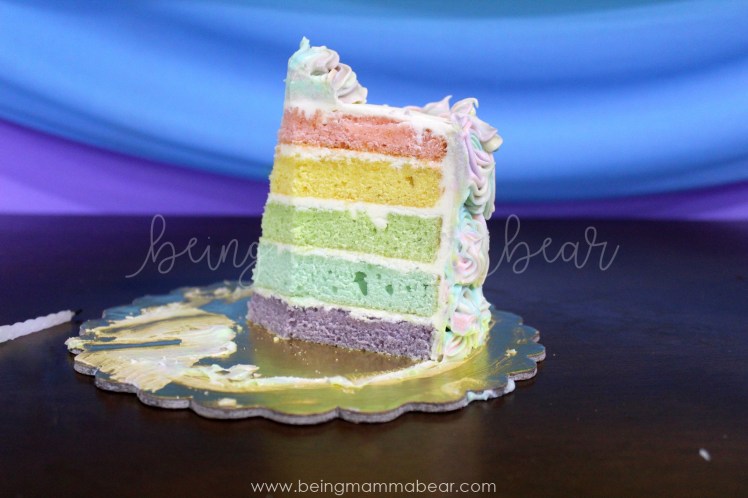
For the main cake, I doubled my teacher’s recipe – used 250 gms (almost 2 cups) of flour. I used the instructions in this video to make a Rainbow Cake. Only I made 5 layers instead of six.
Since I don’t have a weighing scale, here’s what I did:
- I first made the colours for each of the five layers. For this, I measured the milk required for the whole recipe.
- Then I took out 5 tablespoons (1 spoonful in each small bowl) and mixed the rest in the batter. In each small bowl, I added a few drops of food colour (locally bought) and mixed it well with a spoon. This cake was meant to be eaten by adults only, so I was okay with the colouring. And even then, because I loooooove pastels, I used very, very little colour to give that light, dreamy colour.

- Then I equally divided the batter (that included most of the milk from the recipe) into the five bowls using a ladel. I scooped once, added to the first bowl, then to the second, until I had one ladel-ful of batter in each of the five bowls.

- Whatever batter was left over, I used a tablespoon (because it was less than 2 ladel-fuls) to distribute it evenly within the 5 bowls.
- Then folded it in. This gave me my coloured batter.
- And then I baked each layer separately in a 5″ tin.
Since I had only one tin in that size, each layer took about an hour to bake.
- Pre-heating – 10 mins
- Actual Baking – 35-40 mins
- Cooling – 10 mins.
I had to wait for the layer to cool before I could take it out of the tin and add the next colour. In the meantime, the oven cooled down and needed to be pre-heated again. In hindsight, despite the fact that the total baking took 5 hours (which meant that I was up baking only till around 6:30 AM because I started mixing the batter around midnight) the cooling off period ensured that my oven did not over heat. I am using a small 22 Ltr Bajaj OTG that wouldn’t have been able to bake five layers without a break anyway.
And while the first few layers baked, I worked on the buttercream frosting, and once that was done, I worked on the Chalkboard Graphic so it would be ready to take it to the printer in the morning.
The Frosting
 While the layers baked one by one, I first made the Vanilla Buttercream. Most recipes I found online used butter and icing sugar in 1:2, some even 1:2.5. I didn’t want the buttercream to be too sweet so I used 1:1. Here’s the recipe:
- Butter 500 gms (I used Amul salted butter. I love the little saltiness it adds)
- Bluebird Icing Sugar 500 gms
- Vanilla Essence 1 tbsp
- Milk a few teaspoons. I added one or two to see how it changed the consistency. I didn’t want it to be too runny so I did not add more than 3. Because of the hot weather in Mumbai, the butter wasn’t holding up well either, so I went easy on the milk.
I beat the butter for about 5 minutes (yes, I timed it) until it was fluffy. Then I added the icing sugar in parts and beat them together until it looked yummy.
Original recipe and instructions here.
The Decoration
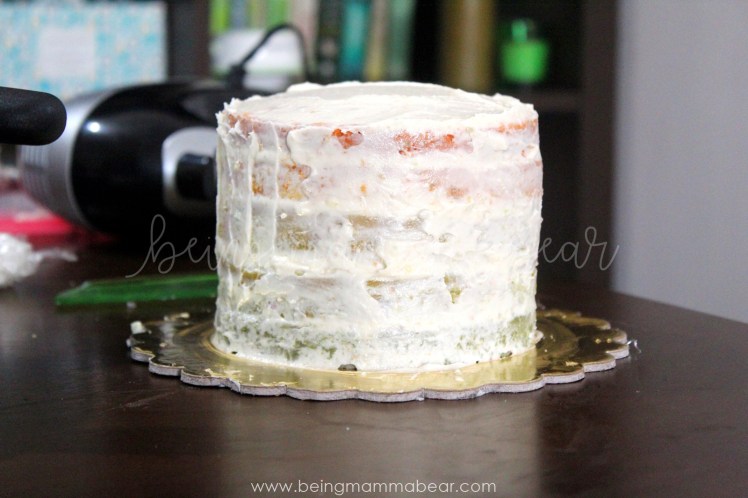
For the big cake, I did the levelling, soaking each layer in simple syrup, filling buttercream between layers, and adding a crumb coat the following morning. While the crumb coat on the big cake chilled in the fridge, I frosted the small cake, and then the big cake and put them both back inside again.


While those two cakes chilled, I coloured the frosting. I had to wait until both cakes were frosted so I could be sure that I could use the rest of the frosting for decoration. Similar to how I divided the cake batter into five, I divided the frosting into six cups (I wanted some of it to be white) and then added a few drops of food colouring to each bowl to get the same pastel-y shades as the inside of the big cake.
I wanted the swirls on the cake to be multicoloured so here’s what I did. I lay a cling film on my table and scooped coloured buttercream on to it. I made sure that I took a different colour each time and plonked them next to each other on the cling film. Then I rolled the cling film to make a ‘sausage’ and put the whole sausage in a piping bag.
 I learnt how to do this from this video:
I first decorated the small cake and covered the whole of it in swirls (or at least that’s what I had in mind 😜).
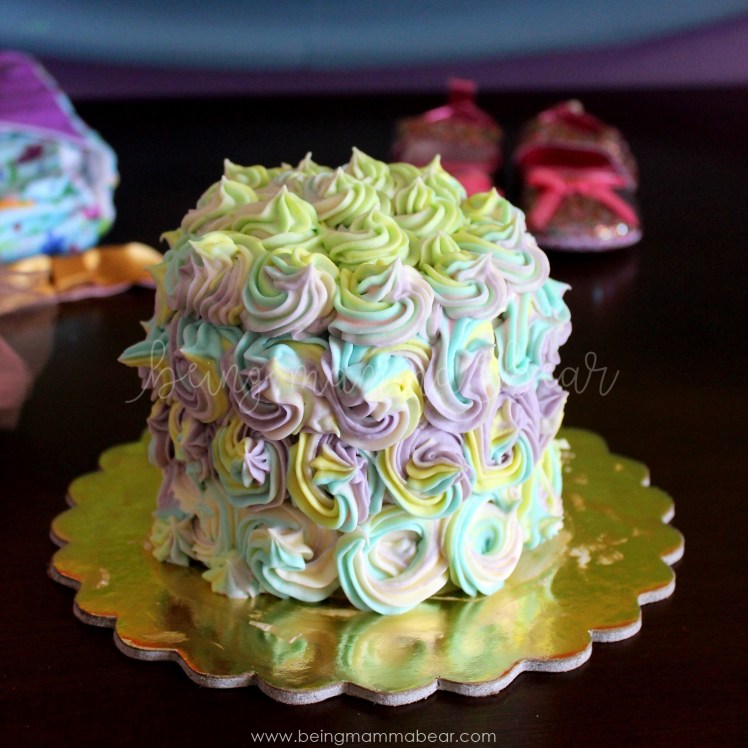
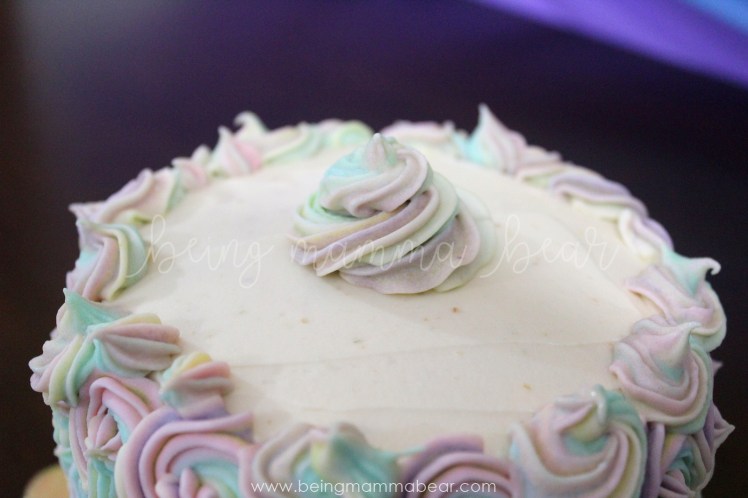
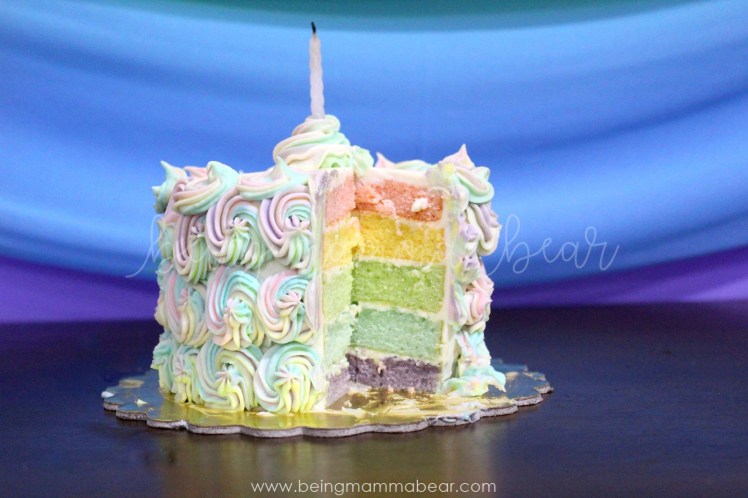
Next, I decorated the bing cake and I wanted to do the same thing here as well but there wasn’t enough buttercream left. So I covered the sides completely and left the top empty and made a single small swirl in the center. Here’s what the finished cake looked like.
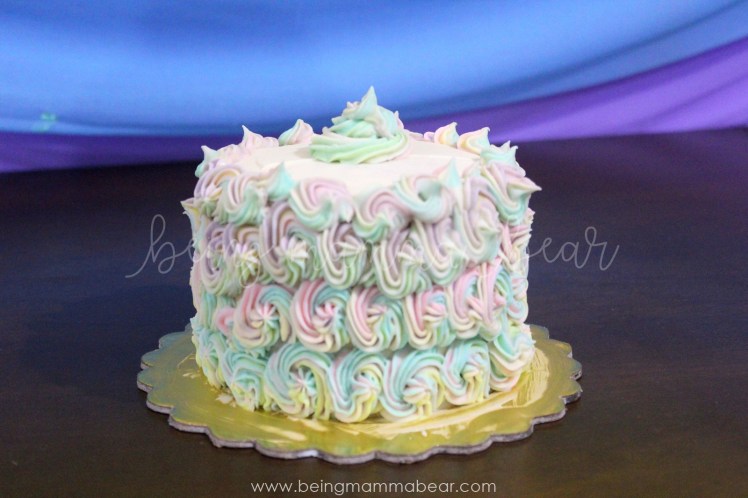
When we cut into the cake and took out the first piece, I was amazed at how wonderful the coloured layers looked. I wasn’t expecting the insides to look so awesome, but I was pleasantly surprised. And it didn’t taste so bad either. 😉
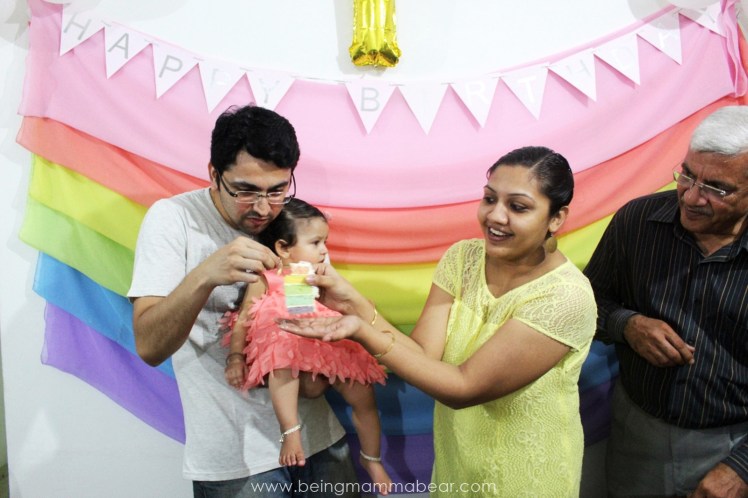
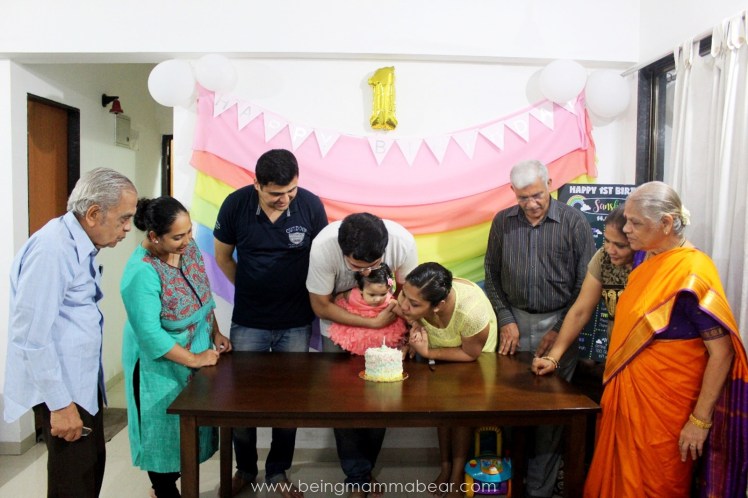
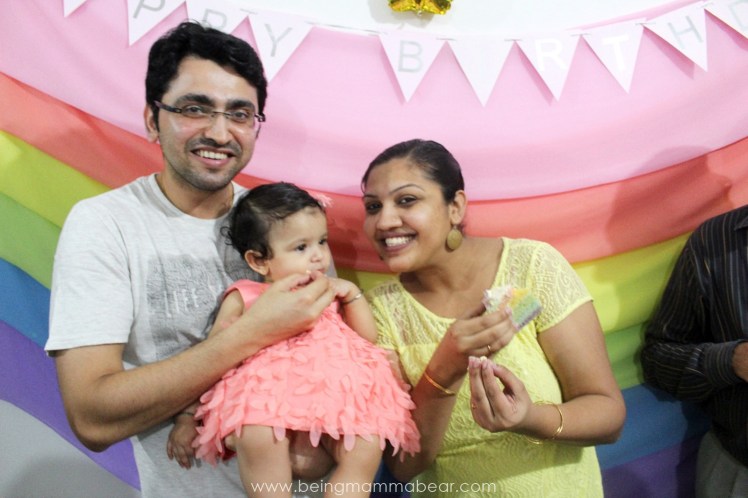
 So that’s how I baked the two cakes for my daughter’s first birthday. Here are some more pictures for you to look at – the finished cake 😜 and the celebrations at home.


To see what happened to the small cake, wait for the next instalment of this series coming up next week – The Cake Smash.

To read all posts in this series, click here.


One thought on “Unicorn Themed First Birthday | Part 3 – Rainbow Cake”